amazon DJI MAVIC AIR 2 reviews
The new mid-range drone model, the Macvic Air 2, has been upgraded in almost every way compared to its predecessor, the Mavic Air, in which the two most important improvements are a sharper camera system and a longer flight time.
If you need to buy a mid-range drone with good quality of photography and video, the Mavic Air is considered a bright choice since this product was released 2 years ago. This is a small and light drone, enough technology for the needs of capturing and recording quality with a relatively soft price.
The new generation Mavic Air 2 just launched has many important upgrades. Compared with the Mavic Air, the new Mavic Air 2 is equipped with more technology, a better camera, and up to 50% longer flight time.
Exterior design: larger drone body, a new controller
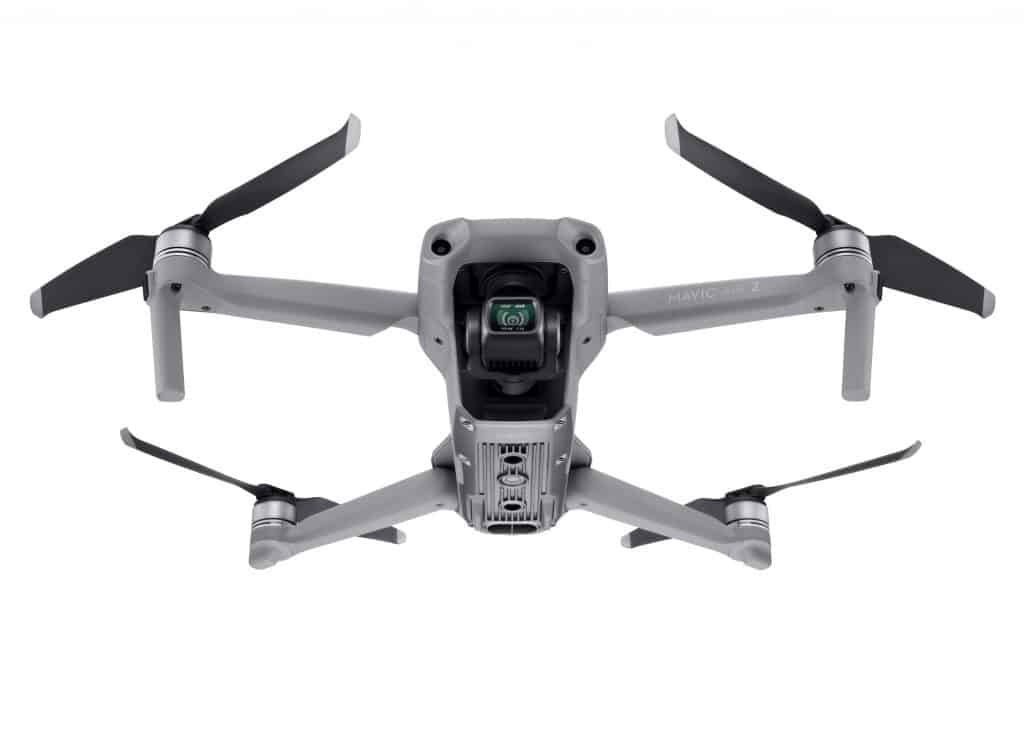
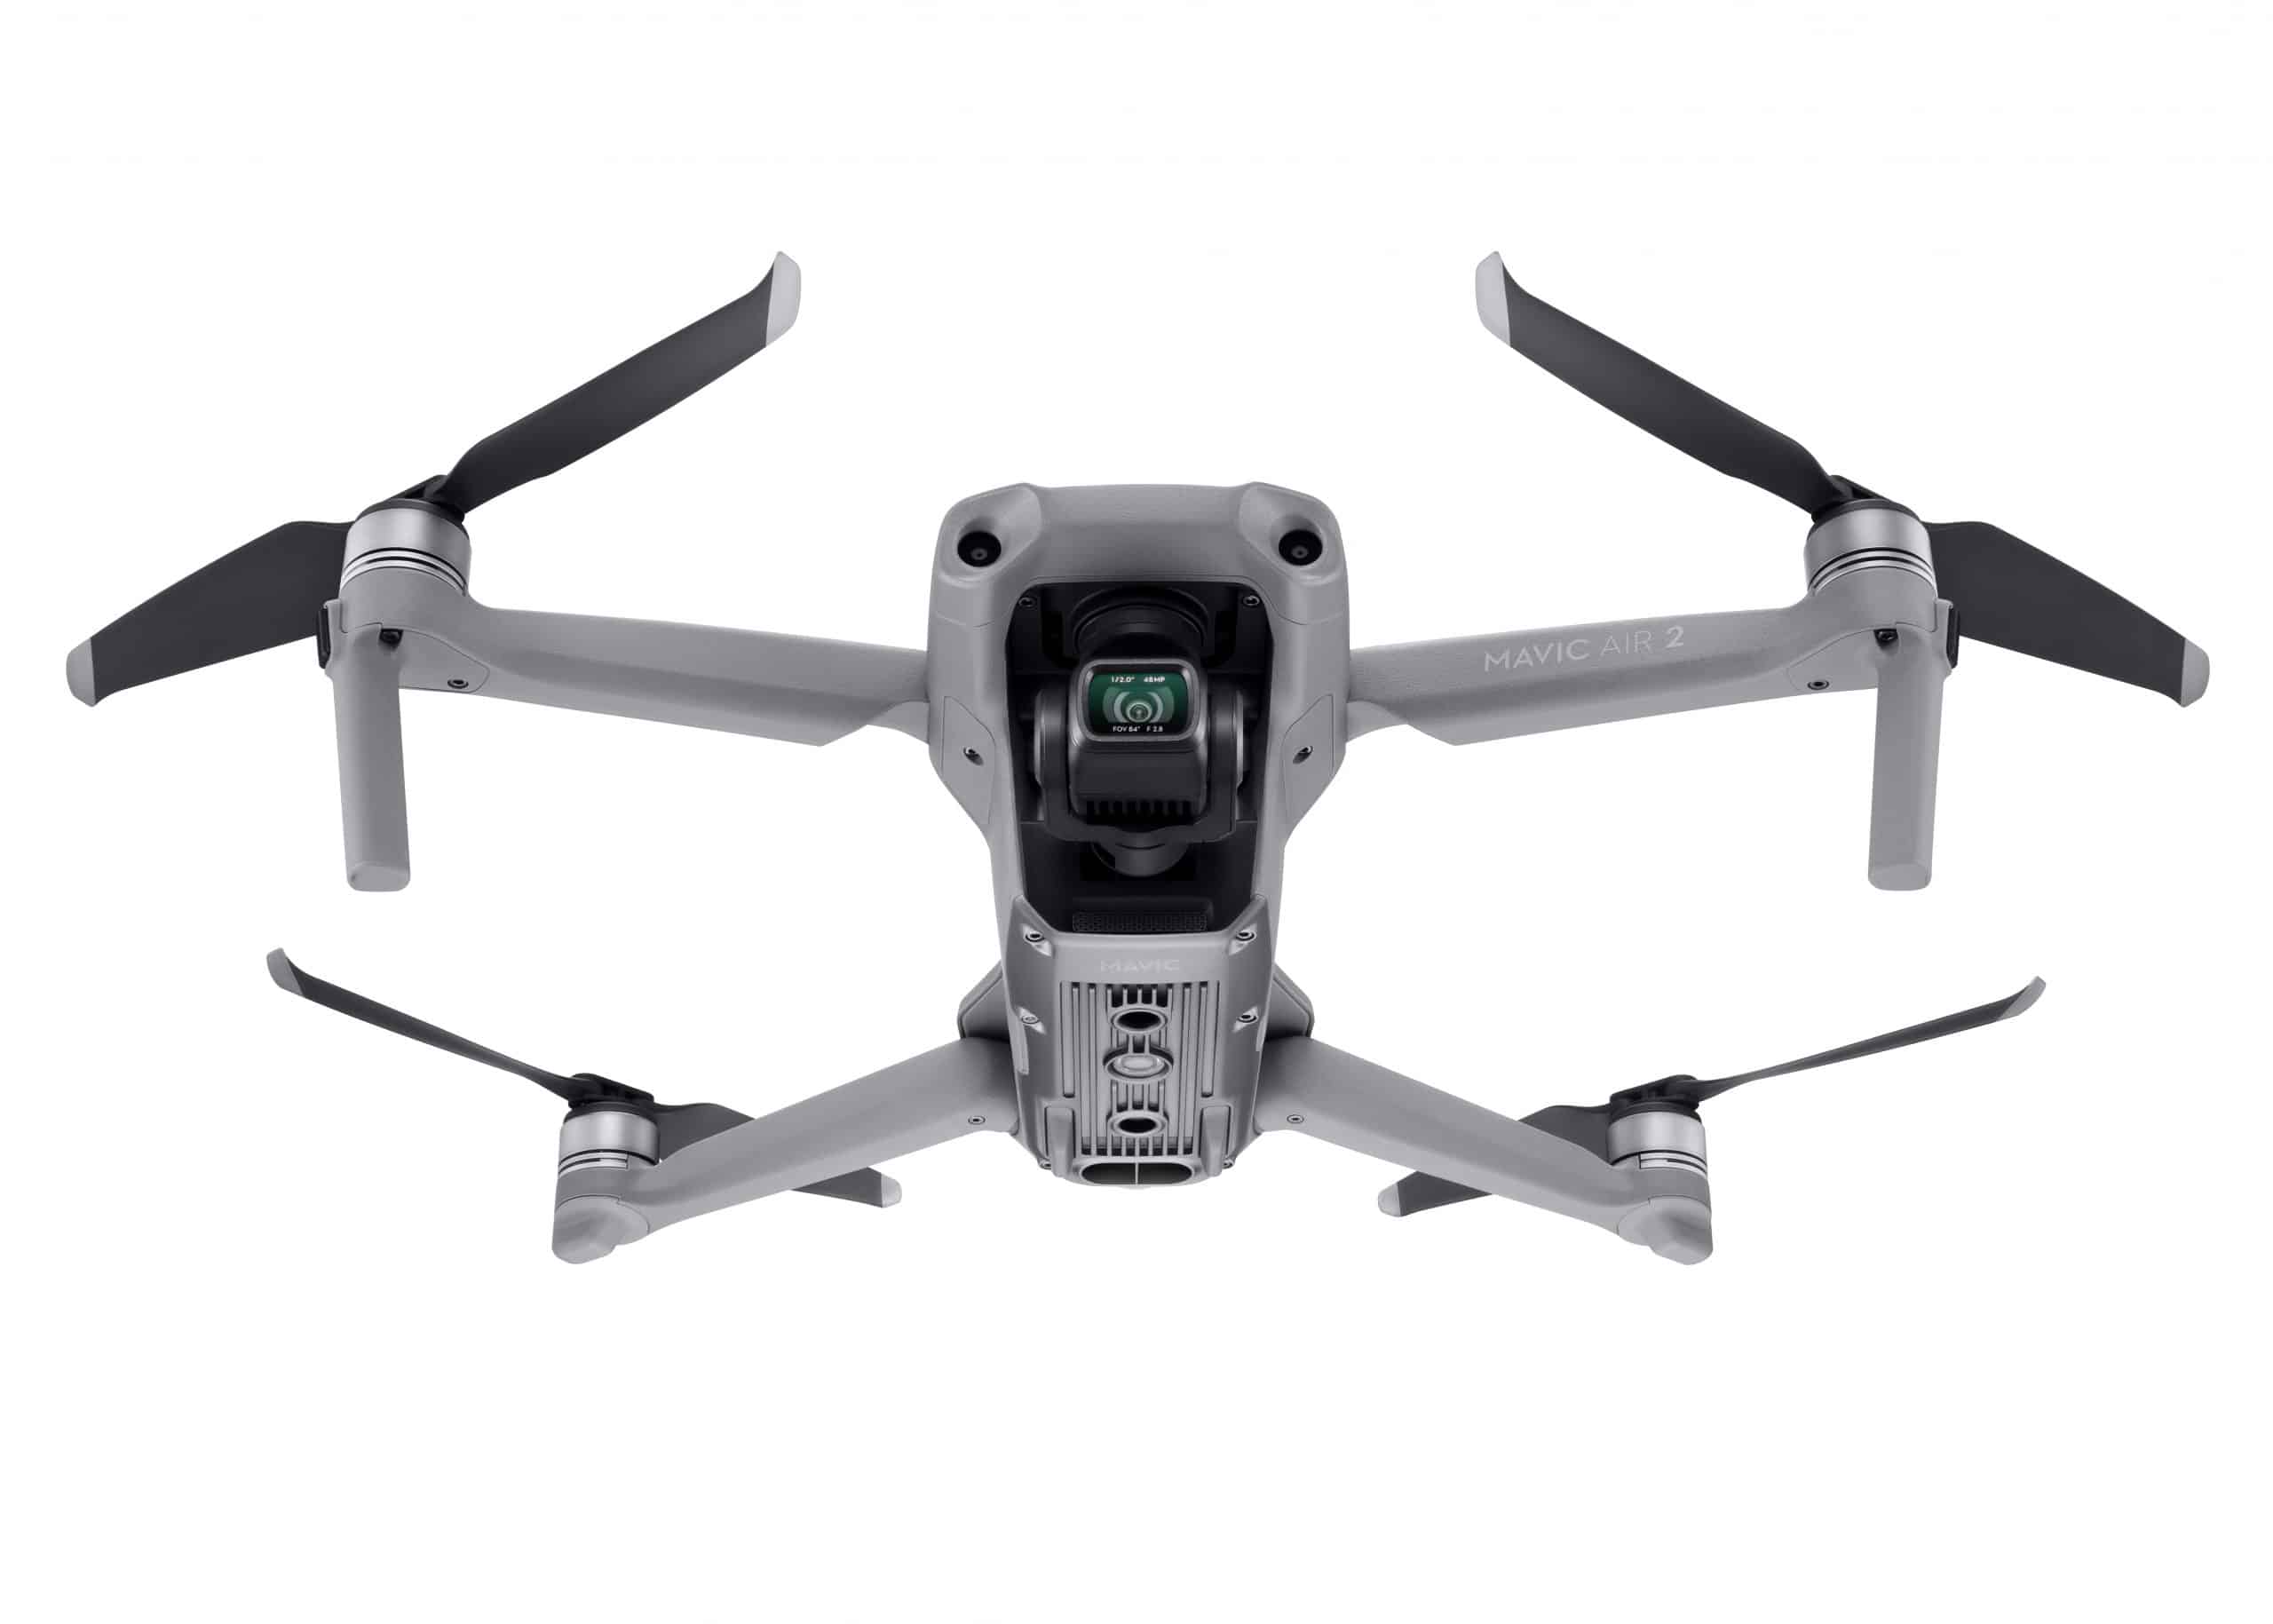
The Mavic Air 2 is significantly larger and heavier than the Mavic Air. The length, width, and height of the Mavic Air 2 when folded are 180 x 97 x 84mm, respectively, compared with the corresponding size of the senior, 168 x 83 x 49mm. Weight is also heavier, 570g compared to 430g, mainly from the increased capacity battery. Even so, the Mavic Air 2 is still small enough to slip into a backpack easily. For you to easily imagine, this drone is the size of the iPhone box only.
Another big change in the design of the Mavic Air 2 is a brand new controller. The controller of this new drone is equipped with a battery that allows up to 4 hours of continuous operation. On the controller, we no longer see the appearance of two traditional antenna antennae. This detail has been integrated into the phone holder by DJI.
The range of 1080p video transmission from Drones to mobile devices is up to 10km compared to 4km on the previous generation. This is thanks to the OcuSync 2.0 data transmission system, which switches between channels over 2.4 GHz and 5.8 GHz to maintain a strong signal for a stable connection and smooth video transmission. The Mavic Air 2 has a larger propulsion system than the Mavic Air, it can reach a top speed of 64km/h, and withstand higher winds from 29km / h to 38km / h. This drone can also be flown in temperatures from -10 degrees C to 40 degrees Celsius.
The two joysticks are still detachable to help users keep them neat when not in use. The control face still has basic buttons such as flight mode adjustment, power button, RTH button, and indicator light of the handle battery capacity. Additionally, the movie/capture button on this new remote is now integrated into one button.
With design changes, the 2-hour Mavic Air’s controller offers a more comfortable grip and ease of operation during flight.
Internal upgrades: sharper camera and longer flight time
With a drone, what users care most about is image quality and flight time. Both of these points of the Mavic Air 2 are very heavily upgraded.
The Mavic Air 2 uses a 48MP camera system with a 1/2 inch sensor, larger and more detailed than the Mavic Air (12MP resolution, 1/2.3 inch sensor size). Not only that, but video recording capabilities have also been improved. The Mavic Air 2 is capable of recording 4K video at 60 frames per second (fps), while the Mavic Air only shoots 30 fps at that resolution. The new drone can also record 240 fps Slow-Motion video at 1080p, compared to just 120 fps on the Mavic Air at the same resolution.
Flight time is increased to 34 minutes compared to 21 minutes on the predecessor. This is thanks to the Mavic Air 2’s battery increased to 3500 mAh, compared to 2,375 mAh on the Mavic Air.
One of the more important functions of the drone is its ability to detect and avoid obstacles during flight. This score of the Mavic Air 2 is also significantly improved. In addition to the front and rear obstacle avoidance sensors like the predecessor, the Mavic Air 2 adds a depth sensor to aid the landing process. Besides, the drone’s abdomen is now equipped with LEDs to illuminate the landing area during night flights.
The Advanced Pilot Assistance System (APAS) 3.0 on the Mavic Air 2 uses today’s latest DJI algorithms and technologies to detect an obstacle or an object in the flight path and reroute the flight direction be suitable. According to the manufacturer, this drone can accurately recognize obstacles at a distance of 22 meters ahead and 23.6 meters from behind to ensure a safe flight journey.
Experience of use
Using the Mavic Air 2 is easy. Even if you have not used a drone, it only takes 5-10 minutes to be able to control this plane.
First, on your phone, you need to install the DJI Fly software. This software is used exclusively for the Mavic Mini and Mavic Air 2. After the installation is complete, controlling the Mavic Air 2 is also quite simple. Once connected, turn on the wing and turn on the power. On the controller, you just need to drag 2 joysticks down the plane will start automatically.
After you have finished starting up, you just need to push the lever on the left-hand side of the plane, it will automatically fly up and pull down the plane will land. Also, you can swipe left or right to adjust the aircraft as you like.
where can you get a DJI MAVIC AIR 2 online
DJI Mavic Air 2 Fly More Combo – Drone Quadcopter UAV with 48MP Camera 4K Video 8K Hyperlapse 1/2″ CMOS Sensor 3-Axis Gimbal 34min Flight Time ActiveTrack 3.0 Ocusync 2.0, Gray: Buy it now
DJI Mavic Air 2 Fly More Combo & Auto-Activated DJI Care Refresh Bundle-Drone Quadcopter UAV with 48MP Camera 4K Video 1/2″ CMOS Sensor 3-Axis Gimbal 34min Flight Time ActiveTrack 3.0, Gray (Renewed): Buy it now
Quality of taking pictures and videos
First, we will talk about filming. The Mavic Air 2 is capable of recording 4k / 60fps video with 120Mbps bitrate, comparable to the Mavic 2 Pro’s high-end drone and 1080P Slow Motion recording with a frame rate of 240fps. You can record movies with 3 color modes: standard, Cinelike, and HDR. In it, HDR is a new addition to the Mavic Air 2, which improves the light range, increases color saturation, and limits horizon flare for video.
Most mid-range drones have difficulty controlling noise even at low ISO levels. However, thanks to the large sensor, Mavic Air 2 has made a significant improvement in this respect. The quality of the recorded video is clear, the colors are balanced and the detail is quite good. The 3-axis gimbal is equipped on the Mavic Air 2 for smooth video, almost without shaking even when flying in the wind. However, if you fly on hot sunny days, you should install a filter for the camera. The manufacturer gives away 3 filters in the box with the combo.
In terms of photography, by default, the Mavic Air 2 will take photos at 12MP just like smartphones using 48MP cameras. The image has good detail, the light band is quite wide and the color is natural, close to reality. When taken at night, the image is still up in color quite well, clear but a bit dark, the light will be better post-processing. Similar to smartphones using a multi-dot camera, you can also choose 48MP shooting mode to increase detail if you want. But note that when shooting 48MP, the drone will take a longer processing time, about 2 seconds to finish the picture and the difference in detail is not as much as the 12MP with 48MP.
In particular, Mavic Air 2 has a new photography feature called SmartPhoto. This is an automatic scene recognition feature. When activated, the camera will automatically adjust the settings based on what the drone is seeing like trees, flowers, sunset, or blue sky. During the experience, I found that SmartPhoto photography often pushed photos up more fresh than the normal mode. Photos can be shared immediately without any color correction. Overall, this is a worthwhile addition to the Mavic Air 2, which is one of the factors that make it a very good mid-range drone.
On the Mavic Air 2, the Hyperlapse feature can now produce 8K video using one of four flight modes: Free, Circle, Course Lock, and Waypoint. Although it is just interpolation to 8K, not a true 8K quality video, the quality achieved is still quite impressive. However, the Hyperlapse feature of the Mavic Air 2 also has the limitation of not exporting 8K resolution directly to the phone.
In addition, the panorama shooting mode is also quite interesting. In this mode, you have the option to shoot spherical, 180-degree, horizontal, or vertical. Operation is very simple, select and press capture only.
Smart Features
Besides shooting and recording quality, another point that makes the Mavic Air 2 experience so interesting is its smart features. Among them, the most prominent is the Follow Me feature. In practical experience, I found the Follow Me feature of the Mavic Air 2 to work very intelligently. I try to run in circles or across many trees but it can still follow. Even when it encounters overhead wires or obstacles, it automatically dodges and continues to fly with it.
Also, the Mavic Air 2 can choose from 6 QuickShots rotation modes including Rocket, Dronie, Circle, Helix, Asteroid and Boomerang.
Rocket: This is a very easy mode to do. Drones will launch the camera downwards to provide an image of the scenery around the subject.
Dronie: In this mode, the drone flies back and forth upwards while the camera locks the subject in the middle of the frame. Drones will start near the subject, towards the subject, fly backward, and slowly up. The subject is still locked by the drone in the center of the frame, but the entire background is enlarged.
Circle: Drones circle a subject to create a very impressive product. Fortunately, the separate mode, if done manually, this is an extremely difficult operation.
Helix: Drones fly up, twisting around the object. This mode is somehow like combining the above three modes into one dramatic movement. The drone will back away from you, slowly fly up and then around the subject.
Asteroid: Drones fly backward and upwards. It takes a few pictures, then flies to the starting point. But once it reaches the selected altitude, it starts taking pictures and stitching them together, giving the tiny planet effect seen in panorama modes.
Boomerang: This is an elliptical manipulation that starts near the target, then scans out a selected distance behind the subject, before rescanning. As a result, the photo progresses from the target to the broad view of the surrounding landscape, then back to the target.
Battery life
In terms of battery life, the Mavic Air 2 uses a new ESC electronic motor and speed controller combined with improved battery technology. Thanks to that, the maximum flight time announced by DJI is 34 minutes on a single charge. In actual testing, we found the new drone can fly for about 30 minutes, significantly increased compared to the 20 minute flight time on the Mavic Air. With 2 batteries included in the Combo version, users can experience up to 90 minutes of continuous flight.
Summary
Overall, the Macvic Air 2 is a comprehensive upgrade compared to the Mavic Air from image quality, battery life to user experience. It can be said that this is an impressive mid-range drone, very easy to use, providing an enjoyable and safe flight experience. Whether you are new to Drones or a semi-professional user, the Mavic Air has everything you need in a drone.

